

Standing Wraps 101: Under-Wrap Liniment & Even-Pressure Guide
Wrapping isn’t about squeezing legs into submission. It’s about clean prep, a thin under-wrap layer, and smooth, even pressure—followed by a calm recheck so tomorrow stays ride-ready.
Why Riders Wrap (and When Not To)
Wraps can help manage post-work puff, support travel days, and keep legs clean overnight. They’re not a fix-all. Skip wraps on wet skin, active skin irritation, or unknown injuries—call your veterinarian first.
For riders caring for senior horses, this routine changes. Warm-up time, circulation, and recovery carry more weight. This guide explains how senior care routines shift over time, calmly and clearly.
Under-Wrap Routine: 6 Steps
- Clean & dry. If you rinsed, squeegee and towel until dry to the touch.
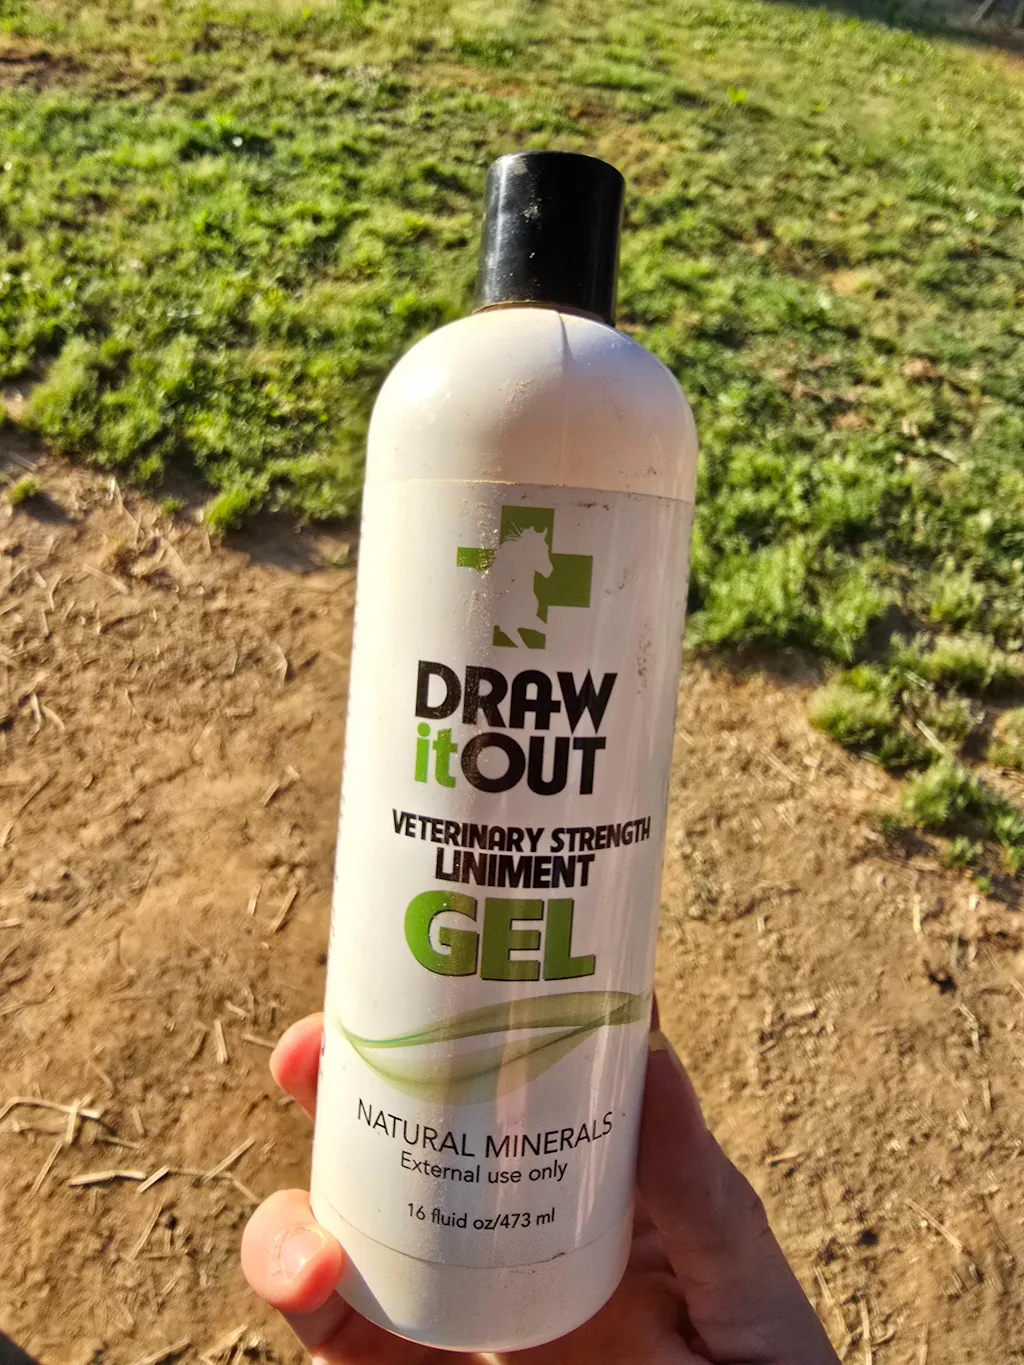
- Thin under-wrap layer. Use a horse liniment gel in a feather-thin layer and allow it to absorb.
- Quilt placement. Center the quilt—edges even, no wrinkles.
- Even pressure. Wrap down, then up, overlapping ~50%. Moderate tension, never tugging tight.
- Finish clean. Secure at the top without a final “crank.” Two fingers should slide in at the fetlock.
- Recheck at 30–45 minutes. Feel for heat, lines, slipping. Adjust or remove if needed.
Common Mistakes to Avoid
- Wrapping over damp skin.
- Uneven tension or gaps around the fetlock bulge.
- Cranking the last pass tight.
- Skipping the 30–45 minute recheck.
Rider-Favorite Products
- Draw It Out® 16oz High Potency Gel
- Cryospray Cooling Body Brace
- MasterMudd™ EquiBrace
- Solution Finder
Wrap smarter. Ride tomorrow.
Clean prep. Thin under-wrap layer. Even pressure. Calm recheck.
Always follow label directions. If swelling, heat, or lameness persists, consult your veterinarian.