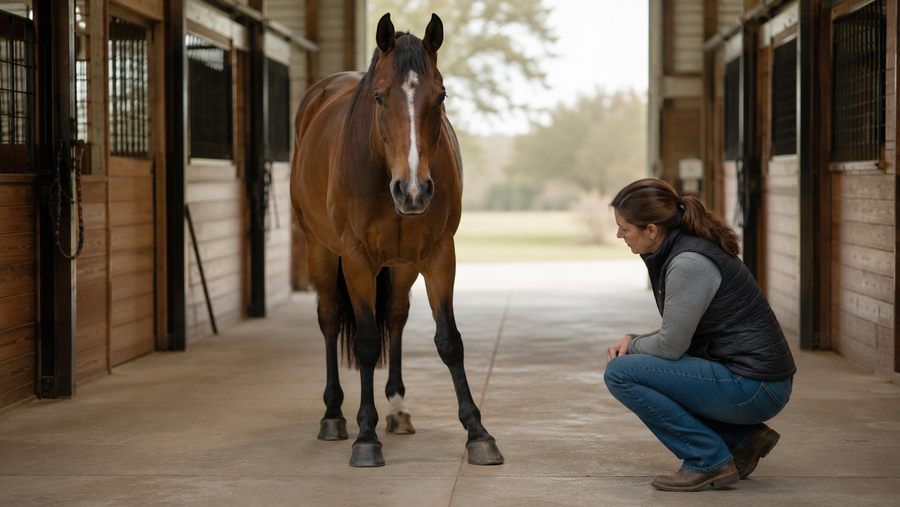
Draw It Out Horse Health Care News guide for finding and checking ticks on horses

Draw It Out® Horse Health Care News

Found a Tick on Your Horse?

A practical rider-first checklist for finding the attachment site, deciding whether removal is a simple barn task or a veterinary job, and watching the horse afterward without turning a tick bite into a product experiment.

Quick answer: keep the horse still, inspect the location, use gloves, and remove an accessible tick with a proper tick tool or fine-tipped tweezers using steady pressure close to the skin. Call your veterinarian when the tick is in an eye, ear canal, mouth, sensitive tissue, the horse will not stand safely, or the site is already swollen, draining, painful, or damaged. Record the date and location, then watch the horse and the attachment site.

First: confirm what you are looking at

Ticks can be easy to miss under a thick mane, feathering, long summer hair, or a dusty coat. They can also be mistaken for a scab, skin tag, seed, dried mud, or small growth. Do not yank at something until you can see where it meets the skin.

Part the hair with good light. Look for a small body attached at one point, and check whether the area is already rubbed, raw, bleeding, swollen, or crusted. If you are not sure it is a tick, take a clear photo and call your veterinarian before pulling.

Where riders commonly find ticks on horses

  • Inside and behind the ears.
  • Under the jaw and through the mane.
  • Chest, elbows, armpits, and between the hind legs.
  • Sheath or udder area.
  • Tailhead and under the tail.
  • Lower legs, coronary bands, feathering, and areas under tack or protective gear.

Finding one tick should trigger a whole-horse check. Run your hands slowly through the coat and inspect sheltered, warm, thin-skinned areas rather than stopping after the first one.

Before removal

Make the job safe before making it fast.

  1. Move the horse to a well-lit, controlled area.
  2. Use a competent handler if the horse may move, strike, or object to the location being touched.
  3. Wear disposable gloves.
  4. Have a proper tick-removal tool or fine-tipped tweezers ready.
  5. Keep a small sealed container or clear bag nearby if your veterinarian may want the tick saved or photographed.
  6. Do not apply oil, petroleum jelly, nail polish, heat, harsh chemicals, liniment, fly spray, or grooming product to make the tick release.

A tick on the eyelid, inside the ear canal, close to the mouth, on genital tissue, or in a location the horse will not let you handle safely belongs with a veterinarian. The same is true when many ticks are clustered together or the skin is already significantly damaged.

Basic removal for an accessible tick

For a calm horse and an easy-to-reach tick, position the removal tool as close to the skin and mouthparts as possible without crushing the swollen body. Use slow, steady pressure according to the tool directions. Avoid jerking, squeezing, burning, coating, or aggressively twisting the tick.

If the tick breaks, the mouthparts appear to remain, the area begins bleeding more than expected, or the horse reacts strongly, stop digging at the skin and call your veterinarian. Turning a small attachment site into a deeper wound creates a second problem.

What to do immediately afterward

  • Check that the tick appears intact without repeatedly probing the skin.
  • Place it in a sealed container or take a clear photo if your veterinarian recommends identification.
  • Note the date, barn or trail location, and where it was attached on the horse.
  • Clean the site using the method your veterinarian recommends.
  • Wash your hands and clean the removal tool.
  • Check the rest of the horse and any horses sharing the same pasture, trail, or turnout exposure.

A small local bump can happen after attachment, but the trend matters. The site should not become progressively hotter, more painful, more swollen, foul smelling, or increasingly wet.

Call your veterinarian when the horse or site changes

Do not wait on a routine product answer when you see a meaningful change. Contact your veterinarian for:

  • Fever, dullness, reduced appetite, weakness, or unusual behavior.
  • Sudden stiffness, lameness, reluctance to move, or poor coordination.
  • Rapidly increasing swelling, heat, pain, drainage, odor, or tissue damage at the attachment site.
  • Multiple attached ticks, a heavily engorged tick, or uncertainty about how long it was attached.
  • A tick in an eye, ear canal, mouth, or other sensitive location.
  • A horse that is not acting like itself after recent travel, trail riding, turnout changes, or tick exposure.

Do not diagnose a tick-borne illness from a photograph or assume that every post-ride problem came from the tick. Your veterinarian can evaluate the whole horse, exposure history, regional risks, and whether testing is appropriate.

Where Citraquin® fits—and where it does not

Citraquin® Environmental Defense Spray can remain part of a normal, label-directed fly-season and turnout routine on intact skin.

It is not a tick-removal product, wound treatment, disease-prevention product, and it does not eliminate exposure to ticks, flies, mosquitoes, or insect-borne illness. Do not use it to force an attached tick to release, and do not spray it onto open, broken, blistered, or irritated skin unless the label specifically directs otherwise.

The rider-first sequence is simple: inspect the horse, handle the tick correctly, move abnormal skin or whole-horse signs into the veterinary lane, then return to ordinary environmental-defense routines only when the skin is intact and the horse is normal.

Use the Solution Finder or compare the pesticide-free horse spray routine.

Build the tick check into the barn routine

  • Check horses after trail rides, tall grass, brush, wooded edges, new pasture, camping trips, and hauling into unfamiliar areas.
  • Use a consistent head-to-tail pattern so the same hiding places are not skipped.
  • Inspect under fly masks, halters, boots, blankets, and tack after use.
  • Keep a tick tool, gloves, light, sealed bag, and veterinary number in the trailer and first-aid kit.
  • Track when and where ticks are found so repeated exposure does not look random.

Visit the Horse Health Library tick and wound-check route for the broader seasonal pest-pressure lane.

Frequently asked questions

Should I put petroleum jelly, oil, alcohol, or heat on an attached tick?

No. Do not experiment with coating, burning, or irritating an attached tick. Use a proper removal tool and veterinarian-directed method.

Should I save the tick?

Ask your veterinarian. A sealed specimen or clear photo, along with the date and exposure location, may help with identification and history.

What if part of the tick appears to remain in the skin?

Do not keep digging. Contact your veterinarian for guidance, especially if the area is sensitive, painful, swollen, or difficult to handle safely.

Can I put Citraquin® on the tick bite?

Citraquin® belongs in a label-directed environmental-defense routine on intact skin. It is not a wound product or tick treatment. Avoid open, broken, blistered, or irritated areas unless the label specifically directs otherwise.

Does finding a tick mean my horse has a tick-borne disease?

No. A tick finding is an exposure event, not a diagnosis. Record it, monitor the horse, and contact your veterinarian if the horse or attachment site changes.

Educational support only. This article does not replace veterinary diagnosis, treatment, parasite-control planning, or emergency care. Follow product labels and contact your veterinarian for embedded parasites, wounds, fever, swelling, drainage, pain, lameness, weakness, poor coordination, or sudden behavior changes.

Leave a comment

Please note, comments need to be approved before they are published.

Start here

Reading first? Here is the clean path.

This article gives you the background. If you are ready to put the idea into a real horse care routine, these are the next places most riders should go.

Daily recovery

Liniment Gels

Explore the Draw It Out® liniment gel lineup for everyday use, post-work routines, and targeted recovery support.

Shop liniment gels
Find the fit

Solution Finder

Match your horse’s workload, age, routine, and care goals to the Draw It Out® products that make the most sense.

Use the finder
Routine first

Prehabilitation

Learn how riders support soundness, comfort, and consistency before little issues become bigger problems.

Read the guide
Simple rule: read the article for context, use the Solution Finder for direction, then build the routine around the product format your horse will actually use consistently.

Real Barn Proof

What this looks like in real barns.

Real riders. Real horses. Real routines. These clips rotate automatically so the proof stays fresh without weighing the page down with a long feed.

Random rider clips

Why this matters: good horse care should make sense outside the ad. These clips show the kind of everyday use that builds trust one barn at a time.

Further Reading

Keep building the routine.

Horse care works better when the next step is clear. These related reads help connect today’s topic to better daily decisions in the barn.

Horse health news

Start with the principle, then build the habit. The right article should make the next barn decision easier, not more complicated.

Next Step

Keep your barn dialed in.

Simple care guides, practical product paths, and rider-trusted tools built for real horses and real routines.

Good care gets easier when the next step is obvious. Read the guide, match the routine, then choose the format that fits how your barn actually works.

Recovery Routine

Build a complete recovery routine.

Want a smarter way to think through post-ride care, heat, swelling, leg support, and daily recovery decisions? Start with the Performance Recovery Hub.

Better recovery starts with a repeatable routine. The hub gives riders a clearer path from workload to product format to aftercare timing.

Rider Favorites

Always in the kit.

Four core Draw It Out® staples riders keep close for daily recovery routines, wash rack use, targeted support, and quick barn-side care.

Core barn staples
Draw It Out® 16oz Liniment Gel | Daily Horse Care

Stay-Put Gel

16oz Liniment Gel

The everyday liniment gel format riders reach for when they want targeted, no-mess application.

View product
Draw It Out® 32oz Liniment Concentrate | Mix-to-Use Formula

Mix Your Way

32oz Concentrate

A flexible concentrate for riders who want to mix their own routine around workload and barn needs.

View product
Draw It Out® RTU Spray 24oz | Ready-to-Use Liniment Spray

Ready To Use

24oz RTU Spray

A ready-to-use spray format for quick application after work, travel, turnout, or daily care.

View product
CryoSpray® by Draw It Out® 24oz | Cooling Body Brace for Horses

Cooling Brace

CryoSpray

A cooling body brace spray for riders who want a fast, practical option after hard work or hot days.

View product

Format matters. Gel, concentrate, ready-to-use spray, and cooling spray each solve a different barn problem. Pick the one your routine will actually use.

Where To Go Next

Turn the idea into a routine.

If this topic connects to what you are seeing in your horse, these are the three cleanest next steps. Start with direction, then choose the product format that fits the way your barn actually works.

Next steps

Best next move: use the Solution Finder first when the issue is unclear. Go straight to the liniment gel collection when you already know the format you want.