
Daily recovery
Liniment Gels
Explore the Draw It Out® liniment gel lineup for everyday use, post-work routines, and targeted recovery support.
Shop liniment gels
Lower back tightness after canter work is a pattern to investigate, not a diagnosis to guess at. Canter asks the horse to lift the back, organize the hind end, carry the rider through a three-beat gait, and manage more force through transitions and turns. If the back repeatedly feels guarded, sore, or tight afterward, the useful question is not simply “Which topical should I use?” It is “What changed in the work, equipment, footing, movement, or recovery?”
If your horse is lower-back tight after canter work, check the pattern on both sides, saddle fit and placement, rider balance, loin sensitivity, hind-end movement, hocks and stifles, lead quality, transitions, footing, conditioning, and next-day stiffness. Stop adding canter work and contact your veterinarian when tightness is repeated, worsening, paired with lameness, bucking, reluctance to move, heat, swelling, neurological-looking changes, or a sudden loss of normal performance.
Walk and trot can allow a horse to hide or redistribute a movement problem. Canter asks for more coordinated lift, push, rotation, and balance. The outside hind, inside hind, loin, pelvis, abdominal muscles, and the rider’s seat all influence how the horse carries the gait. Fatigue or compensation may become more visible after repeated transitions, circles, collected work, hills, deep footing, or a session that is longer than the horse’s current fitness supports.
That does not mean canter caused the problem. It may simply be the point where the pattern became obvious. A horse can feel “tight in the back” because of workload, tack, rider asymmetry, hind-end discomfort, poor footing, insufficient conditioning, or a problem elsewhere that changes how the back is used.
Before you rub, stretch, massage, or apply anything, write down exactly when the tightness appears. Specific observations are more useful than a general statement that the horse is sore.
Look for uneven sweat, dry pressure areas, ruffled hair, edge pressure, bridging, or a saddle that migrated forward or backward. Sweat marks do not diagnose fit, but asymmetry and repeated pressure patterns are worth documenting for a qualified saddle professional.
Using even, gentle pressure, compare both sides from behind the saddle toward the pelvis. Notice guarding, dipping, flinching, muscle spasm, or a response that is clearly different from the horse’s normal baseline. Do not press harder to prove soreness.
Watch the horse walk away, turn, back, and walk on a straight line. Note shortened steps, toe dragging, uneven tracking, difficulty stepping under, or reluctance to turn one direction. These observations belong in a veterinarian conversation, not a home diagnosis.
Back tightness can be part of a compensation pattern. Notice whether the horse resists picking up a hind foot, struggles with backing, swaps leads, cross-canters, or has difficulty maintaining one lead. Repetition matters more than one imperfect stride.
A rider who collapses one hip, sits heavier on one seat bone, braces through the lower back, or loses balance in transitions can change the load on the horse. Video from behind and from the side can reveal patterns that are hard to feel in the saddle.
Deep footing increases effort. Hard footing increases concussion. Uneven footing asks the horse to stabilize differently. Tight circles and repeated direction changes can expose weakness or fatigue. Compare the same work on a safer, more consistent surface.
Canter fitness is specific. A horse may be generally active but not conditioned for long canter sets, collection, hills, or repeated departures. Build duration, intensity, and complexity separately rather than increasing all three at once.
Check the horse before turnout or exercise the next morning. Watch the first steps, backing, grooming response, and willingness to move. A next-day change can be more informative than how the horse felt while still warm.
Many riders focus on the gait and miss the transition. A horse that braces into the departure, hollows, rushes, kicks out, pins the ears, swishes the tail, or repeatedly picks up the wrong lead may be communicating imbalance, confusion, fatigue, tack pressure, or discomfort. The downward transition can also load the back when the horse falls onto the forehand or the rider lands heavily.
Record whether the issue occurs from walk, trot, or halt; on a straight line or circle; and with which lead. Fewer, cleaner transitions are generally more useful than drilling repeated attempts after quality has deteriorated.
Contact your veterinarian promptly when lower-back tightness is sudden, severe, repeated, worsening, or paired with:
A saddle fitter, qualified bodywork professional, farrier, trainer, and veterinarian can each contribute useful information, but they do not replace one another. Start with the veterinarian when pain, lameness, neurological-looking signs, trauma, or a persistent performance change is present.
Draw It Out® belongs in the external, post-work support lane—not the diagnosis lane. Once a veterinarian has ruled out concerns that require medical care and the skin is intact, an appropriate topical routine may be one part of a broader recovery plan that includes workload management, tack fit, footing, conditioning, and follow-up.
Use the What Does My Horse Need? Solution Finder to organize the concern, or review the active Draw It Out® Liniment collection for label-directed external support. A topical should never be used to cover up lameness, force a horse through pain, or postpone a needed veterinary examination.
The strongest recovery decision is often the least dramatic one: shorten the session, document the pattern, check the equipment, and bring in the right professional before the horse has to make the message louder.
Possible contributors include conditioning, saddle fit, rider balance, hind-end effort, footing, repeated transitions, fatigue, or compensation for discomfort elsewhere. The pattern needs evaluation rather than a single assumed cause.
Not until you understand why the tightness is occurring. Adding duration or intensity to a repeated soreness pattern can make the pattern harder to interpret and may worsen the underlying problem.
Saddle position, balance, bridging, movement, pad choice, and rider load can contribute to pressure patterns. Document what you see and involve a qualified saddle professional, while using your veterinarian when pain or lameness is present.
Training can create temporary fatigue, but repeated guarding, marked sensitivity, behavior change, lameness, or next-day stiffness should not be dismissed as normal conditioning.
An appropriate label-directed topical may support an external post-work routine after veterinary concerns have been addressed and the skin is intact. It does not diagnose the cause, correct saddle fit, or replace veterinary care.
Educational information only. This article does not diagnose or treat back pain, lameness, or performance problems. Contact your veterinarian for sudden, repeated, severe, or worsening tightness; lameness; neurological-looking changes; trauma; or major behavior changes.
This article gives you the background. If you are ready to put the idea into a real horse care routine, these are the next places most riders should go.
Explore the Draw It Out® liniment gel lineup for everyday use, post-work routines, and targeted recovery support.
Shop liniment gelsMatch your horse’s workload, age, routine, and care goals to the Draw It Out® products that make the most sense.
Use the finderLearn how riders support soundness, comfort, and consistency before little issues become bigger problems.
Read the guideReal Barn Proof
Real riders. Real horses. Real routines. These clips rotate automatically so the proof stays fresh without weighing the page down with a long feed.
Why this matters: good horse care should make sense outside the ad. These clips show the kind of everyday use that builds trust one barn at a time.
Further Reading
Horse care works better when the next step is clear. These related reads help connect today’s topic to better daily decisions in the barn.

Jul 08, 2026
A practical horse health guide for hind-end stiffness after a trailer ramp: first steps, ramp traction, body checks, and vet red flags.
Read article
Jul 08, 2026
Before you ride in fly season, check the legs, belly line, sweat, turnout spots, tack area, and fly-control routine so stomping does not turn ...
Read article
Jul 07, 2026
A practical horse electrolyte guide covering diet, water, salt, heat, humidity, hauling, sweat, recovery, and urgent veterinary signs.
Read articleStart with the principle, then build the habit. The right article should make the next barn decision easier, not more complicated.
Next Step
Simple care guides, practical product paths, and rider-trusted tools built for real horses and real routines.
Good care gets easier when the next step is obvious. Read the guide, match the routine, then choose the format that fits how your barn actually works.
Recovery Routine
Want a smarter way to think through post-ride care, heat, swelling, leg support, and daily recovery decisions? Start with the Performance Recovery Hub.
Better recovery starts with a repeatable routine. The hub gives riders a clearer path from workload to product format to aftercare timing.
Rider Favorites
Four core Draw It Out® staples riders keep close for daily recovery routines, wash rack use, targeted support, and quick barn-side care.
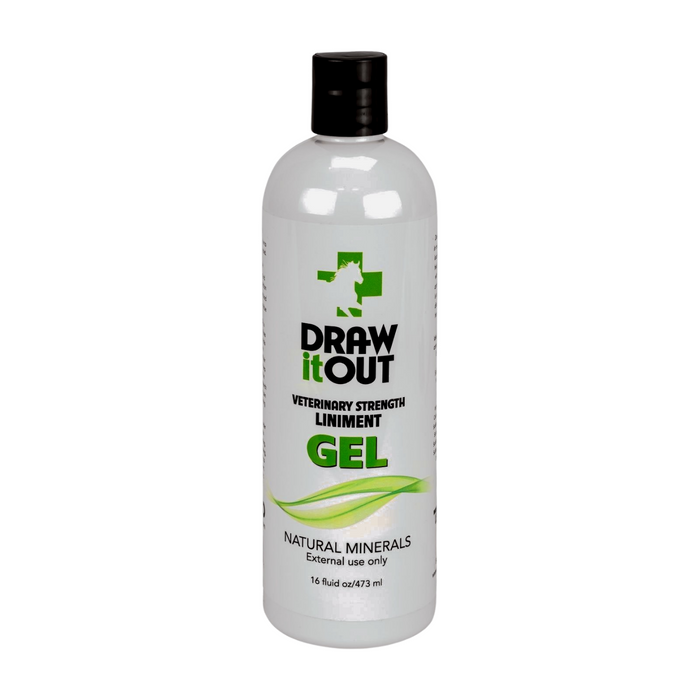
Stay-Put Gel
The everyday liniment gel format riders reach for when they want targeted, no-mess application.
View product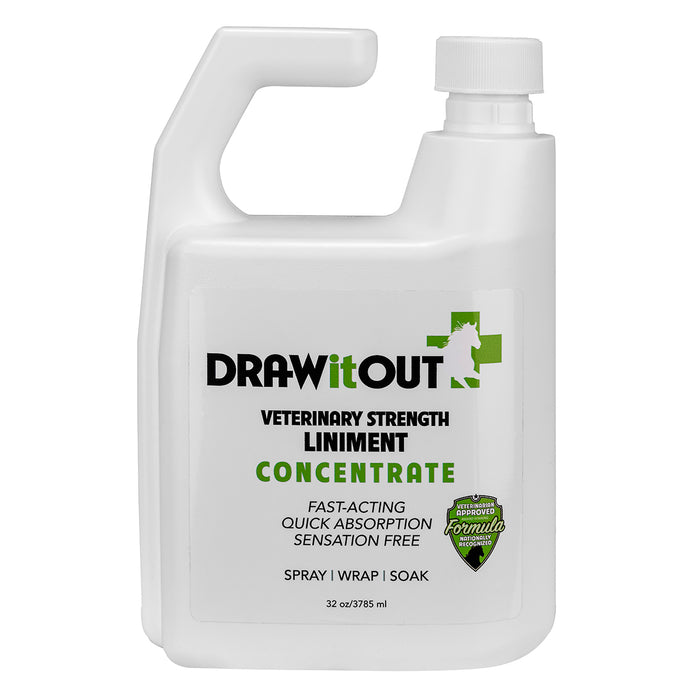
Mix Your Way
A flexible concentrate for riders who want to mix their own routine around workload and barn needs.
View product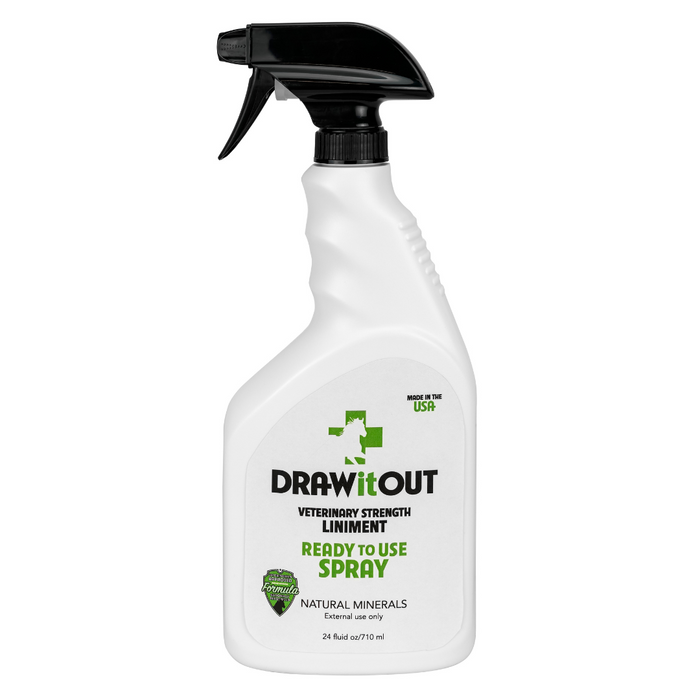
Ready To Use
A ready-to-use spray format for quick application after work, travel, turnout, or daily care.
View product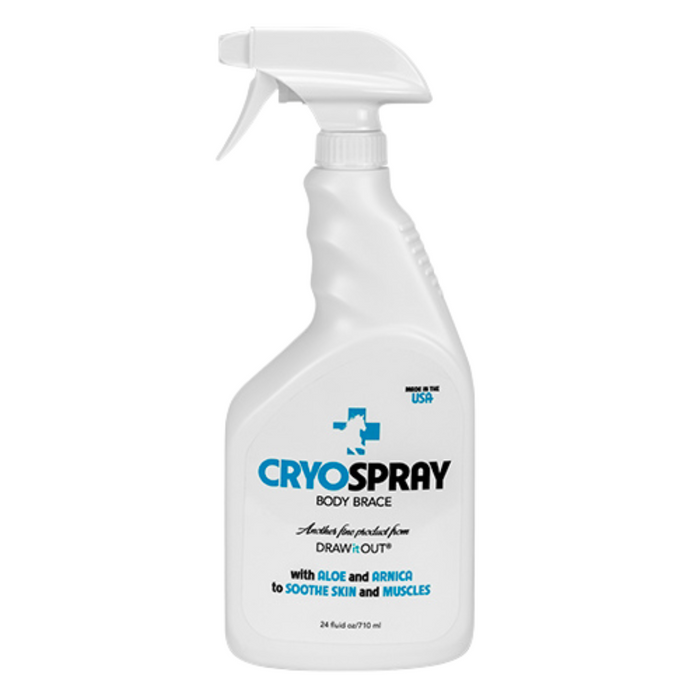
Cooling Brace
A cooling body brace spray for riders who want a fast, practical option after hard work or hot days.
View productFormat matters. Gel, concentrate, ready-to-use spray, and cooling spray each solve a different barn problem. Pick the one your routine will actually use.
!